The Maintain Groups Page allows you to easily add or remove items to or from a group, add a new group, change the prices of items in a group, or print shelf labels for a group.
1. From the Main Toolbar, select Groups, then click Maintain Groups.
2. Select your Price Book.
3. Select a group from the Group drop down.
4. In the search box select the Department with the items you want to move.
5. Type in the description of the item you want to move (NOTE: you can also search for an item by using the price range fields).
6. Select the SKU that you want moved and press “>” key, this will move the item or items to the new group. If you need to move all items press “>>” key. To remove an item or items from an existing group, select the items from the Group Members column that you want to remove from the group and press the "<" key.
1. Select the Price Book in which the group you are maintaining is located from the Price Book drop down menu.
2. Select the Group you are adding an item to from the Group drop down menu.
3. You will see all the items on the selected group under the column call Group Members
4. Search the item(s) you would like to move by using the Seach Tool. Get detail instructions in how to search an item by upc code, department, price range and more by clicking here.
5. Highlight the item(s) you would like to add to the group by clicking that item from the Search Result column. You can select multiple items using the SHIFT and CTRL keys.
6. Move the items using the arrow buttons. The forward, single arrow (>) will move the highlighted item(s) from the Search Results list to the Group Members List. The forward, double arrow (>>) will move all of the items from the Search Results list to the Group Members list. Likewise, the backwards, single arrrow (<) will move a highlighted item from the Group Members list to the Search Results list. The backwards, double arrow (<<) will move all of the items in the Group Members list to the Search Results list.
1. Select the Price Book in which the group you are maintaining is located from the Price Book drop down menu.
2. Select the Group you are removing an item to from the Group drop down menu.
3. You will see all the items on the selected group under the column call Group Members
4. Highlight the item(s) you would like to remove from the group by clicking that item from the Group Members column. You can select multiple items using the SHIFT and CTRL keys.
5. Move the items using the arrow buttons. The backward, single arrow (<) will move the highlighted item(s) from the Group Members List to the Search Results list. The backward double arrow (<<) will move all of the items from the Group Members list to the Search Results list. Likewise, the forward, single arrow (>) will move a highlighted item from the to the Search Results list to the Group Members list. The forward double arrow (>>) will move all of the items in the Search Results list to the Group Members list.
1. From the Main Toolbar, select Groups, then click Maintain Groups.
Group Members list 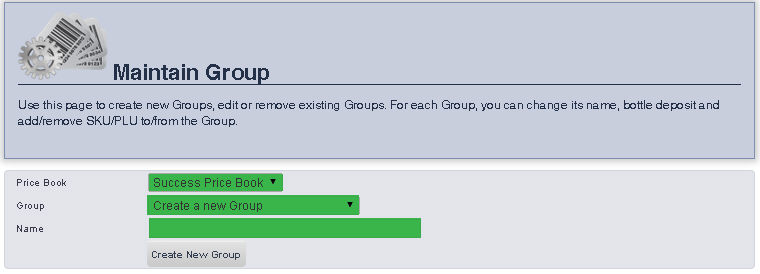
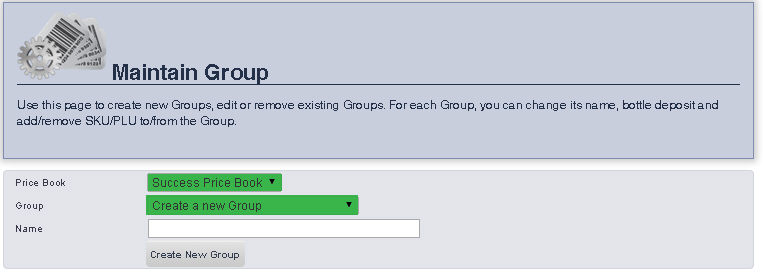
2. Select the Price book you would like to add the group to from the Price Book drop down menu.
3. In the Group drop down menu, select Create a New Group.
4. Enter the name of the new group in the Name text box.
5. Click the Create New Group button to start adding products to the group.
1. From the Main Toolbar, select Groups, then click Maintain Groups.

2. Select the Price book you would like to remove the group from with the Price Book drop down menu.
3.Select the group you would like to remove from the Group drop down menu.
4. Click Remove next to the Group drop down menu.